First Run and Onboarding
The first time you open Wayland, it walks you from a blank state to a working assistant. There is no account to create and nothing to sign up for. The whole flow takes about a minute, and everything you choose can be changed later in Settings.
1. Tell Wayland your name
Section titled “1. Tell Wayland your name”The app opens on a short welcome step that asks what to call you. Type a name and choose Continue. This is only so your assistants can greet you by name; it is stored locally and you can change or skip it.
You will also see an optional Continue with Google button here. This is not an account login. It is a one-click way to put the free Gemini models in your picker so you have a model ready without pasting a key. You can use it now or ignore it and connect a model in step 3.
2. Wayland scans your machine
Section titled “2. Wayland scans your machine”Next, Wayland does a quick local scan to see what you already have: installed AI CLIs (such as Claude Code), provider API keys in your environment, and any local models like Ollama. The scan runs on your machine and nothing leaves your device. It takes a few seconds, then shows you what it found and wired up. Choose Continue.
3. Connect a model
Section titled “3. Connect a model”Wayland needs at least one model provider so the agent has something to think with. It offers a few one-click doors plus a paste-a-key option:
- Connect Flux Router (recommended): one key for every model, with smart routing per request. Your browser opens to sign in, and Wayland mints a per-device key for you. Free to start, no card. This is the fastest path.
- Continue with Google: free with your Google account; puts the Gemini models in your picker with one click.
- Use your detected key: if the scan found a provider key already in your environment, you can connect it directly.
- Paste a provider key: paste any supported key (Anthropic, OpenAI, Google, DeepSeek, Moonshot, and more) and Wayland detects which provider it is.
One connection is enough to begin. You can add more providers any time in Settings -> Models. For a focused walkthrough of every option, see Connect Your First Model.
4. Pick what you are working on
Section titled “4. Pick what you are working on”Wayland asks what are you working on and shows a set of focus options. Pick as many as fit (you can also skip):
- Content and creative
- Sales and growth
- Running a business
- Building / dev
- Finance and money
- A bit of everything
Your picks seed your launch bar with the right assistants and recommend matching teams and workflows. These are starting suggestions, not a lock-in; you can add or remove anything afterward.
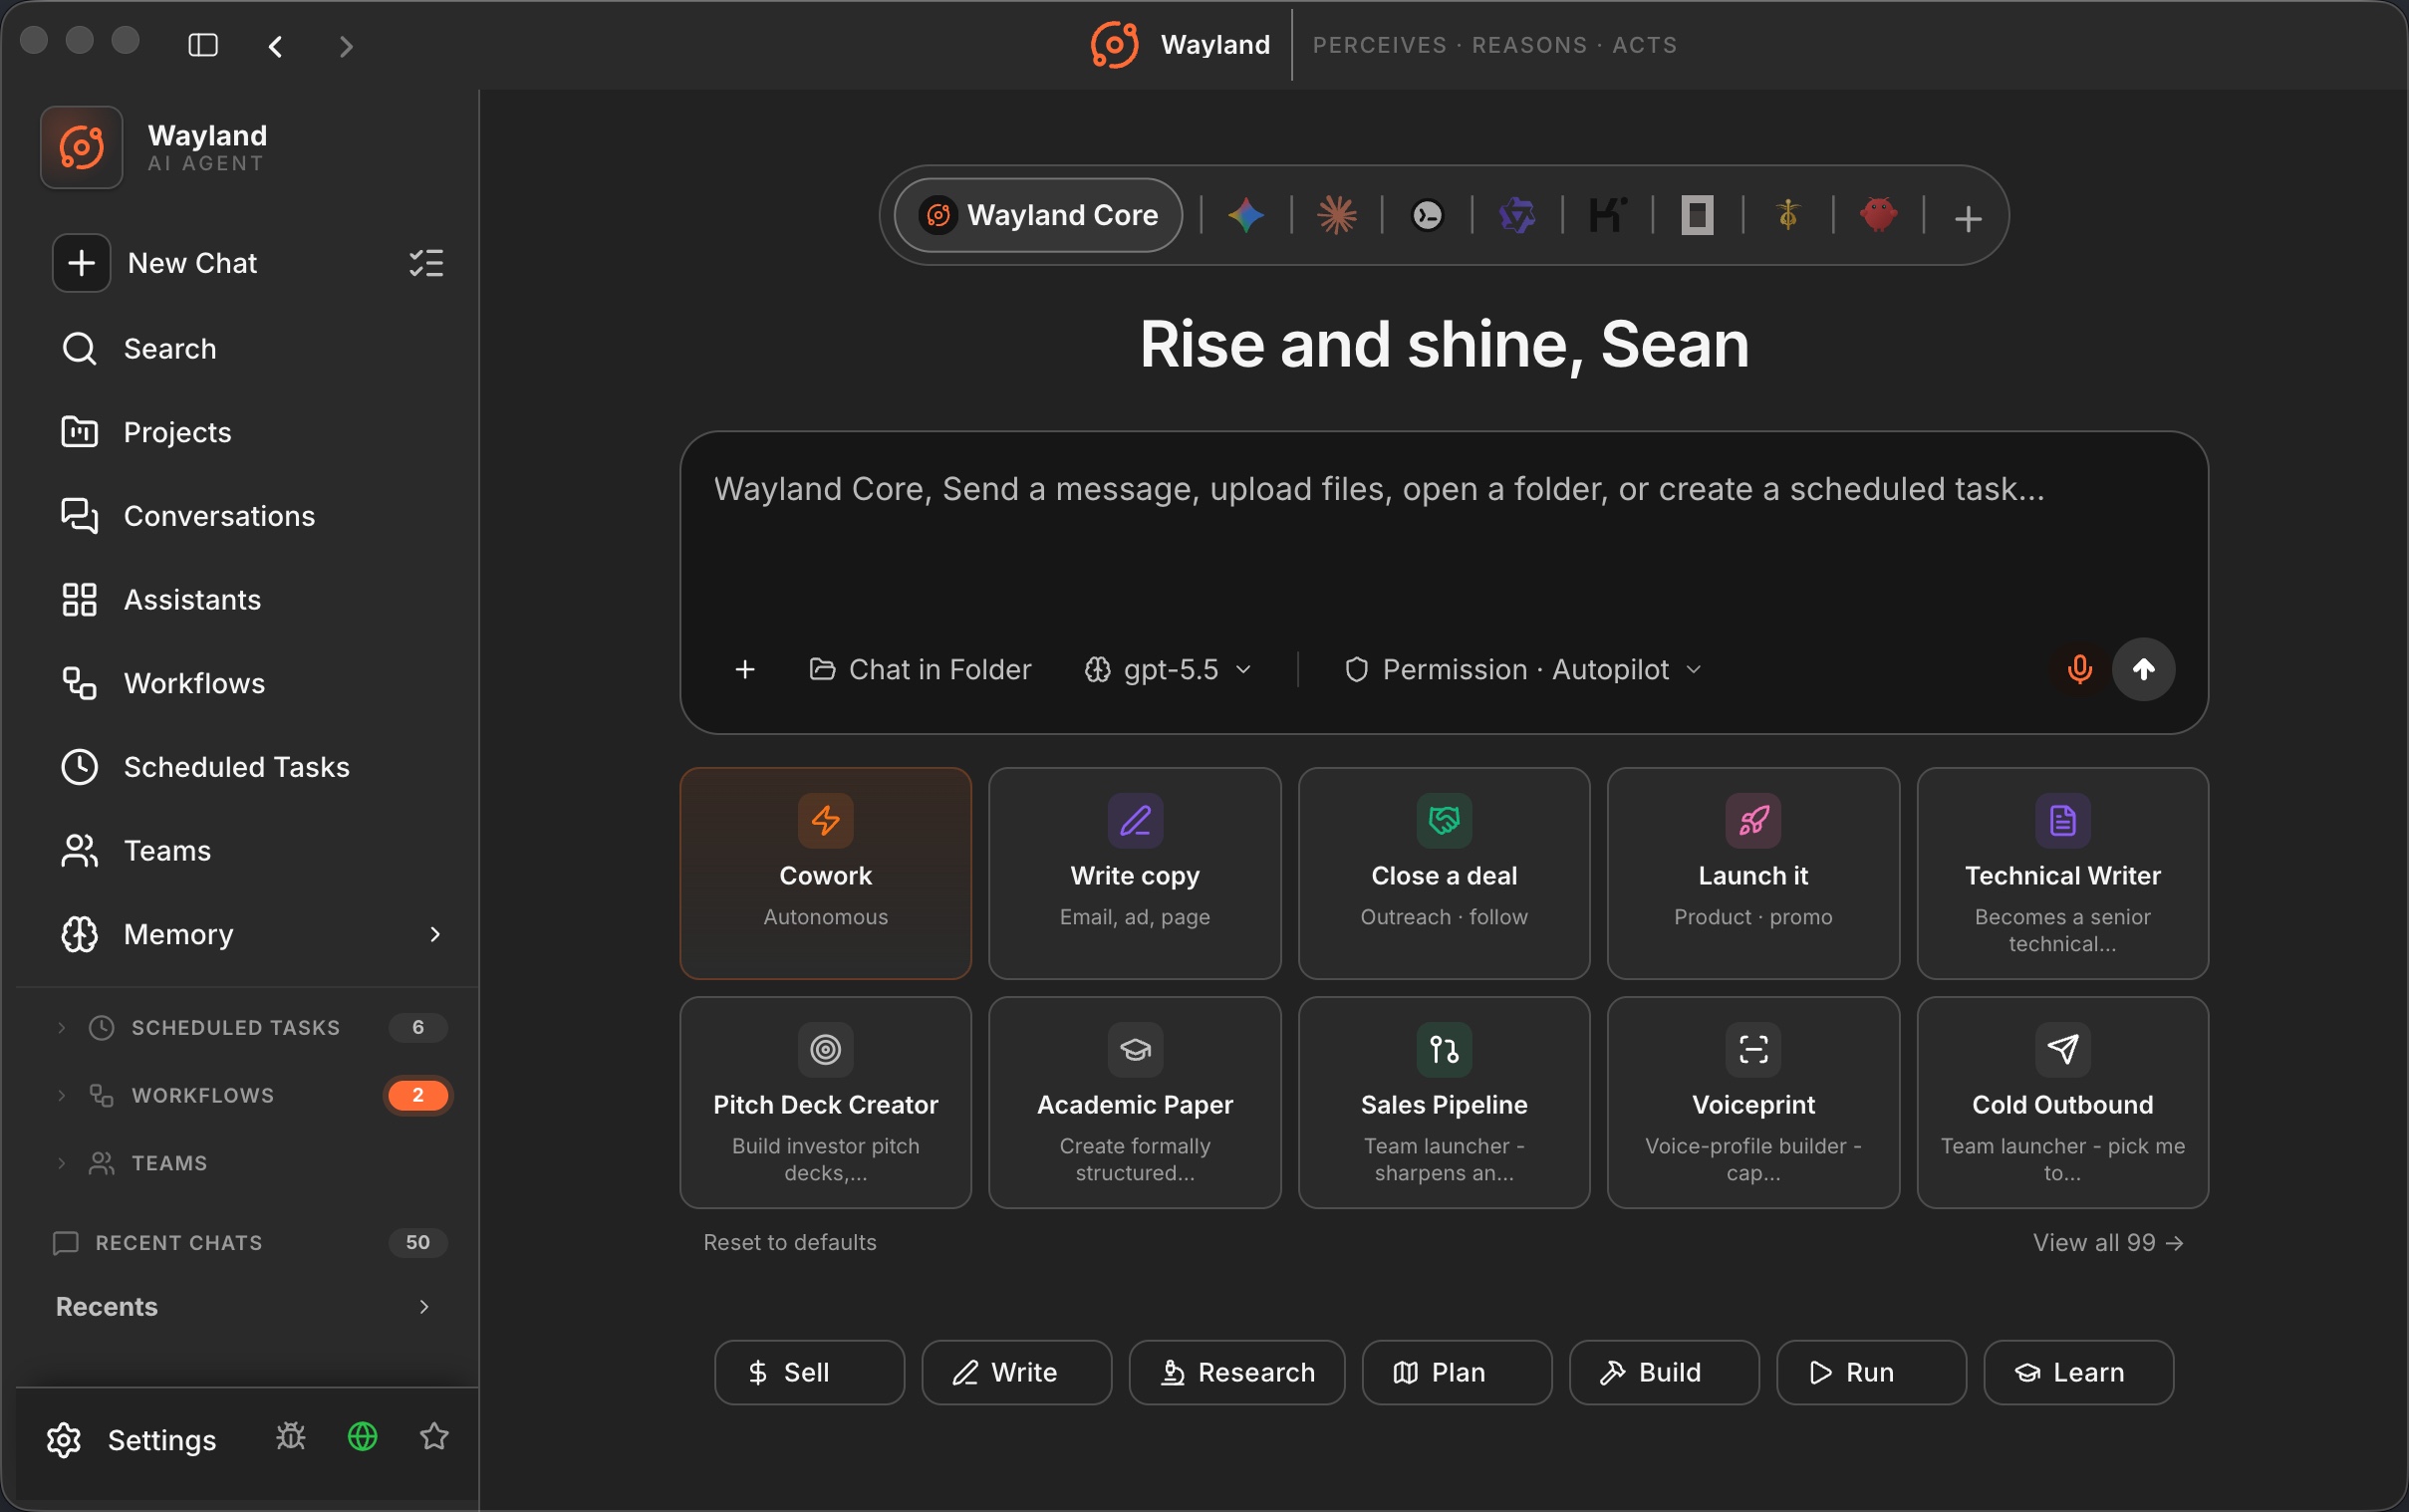
5. Land on the dashboard
Section titled “5. Land on the dashboard”When onboarding finishes you arrive at the dashboard: a launch bar with your assistants, a set of intent pills for starting a new chat, and starter cards. This is home base for everything that follows.
Not sure what to do first? Ask Concierge, the built-in helper that reads your setup and answers in plain steps. It can also connect a provider or set your default model for you, behind a confirmation card you approve.
Desktop vs Core: which do I use
Section titled “Desktop vs Core: which do I use”Now that the app is running, it helps to know when to drop to the engine:
- Use the desktop app for channels, teams, scheduling, voice, image generation, and remote access. It is the full surface.
- Use Wayland Core for headless work: a one-shot prompt in a script, an agent in CI, or driving the agent from your own program. See Wayland Core Overview.
They share config and run the same engine, so moving between them is seamless.