Run Wayland on a server
Wayland runs two ways. The desktop app is the full GUI you install on your Mac, Windows, or Linux machine. The server is the same agent running headless on a Linux box or VPS, with no GUI. It drives your AI CLIs server-side, and you reach it from any browser or your phone. Use it for always-on, remote, or cloud setups.
The server ships as the getwayland npm package, currently 0.12.0.
Requirements
Section titled “Requirements”- Linux x64. Verified on Ubuntu 24.04. Any cheap VPS works.
- About 2 GB RAM.
- Node 18 or newer, with npm. On a fresh Ubuntu or Debian box:
sudo apt-get update && sudo apt-get install -y nodejs npm. - Outbound internet. On first run Wayland installs the bun runtime itself, so the box needs to reach the network.
Deploy in three steps
Section titled “Deploy in three steps”1. Install
Section titled “1. Install”npm install -g getwayland2. Set up
Section titled “2. Set up”wayland setupwayland setup is interactive. It walks you through:
- A provider key. Paste a Flux Router, OpenAI, Anthropic, or Gemini key, or press Enter to skip and add one later. A Flux Router key is the simplest choice here because one key gives the server smart routing across models. Grab one at fluxrouter.ai.
- A systemd service. Setup offers to install one so the server starts on boot and restarts on its own.
- Starting now. Setup offers to start the server immediately and print the login QR. Say yes.
3. Log in
Section titled “3. Log in”On first boot Wayland prints a QR code and the admin login right in your terminal:
  Wayland server running on http://0.0.0.0:3000
  Scan to log in (valid 5 minutes):
    █▀▀▀▀▀█ ▀▄ █ █▀▀▀▀▀█    █ ███ █ █▀▄  █ ███ █    █ ▀▀▀ █ ▀ ▄▀ █ ▀▀▀ █    ▀▀▀▀▀▀▀ █ ▀ ▀ ▀▀▀▀▀▀
  Admin login:  admin  Password:     8f3c-the-printed-password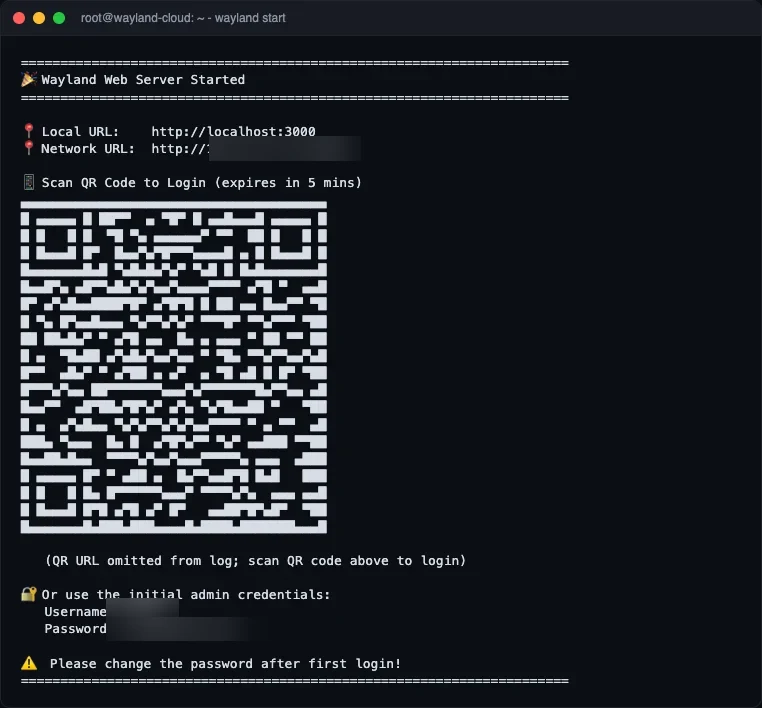
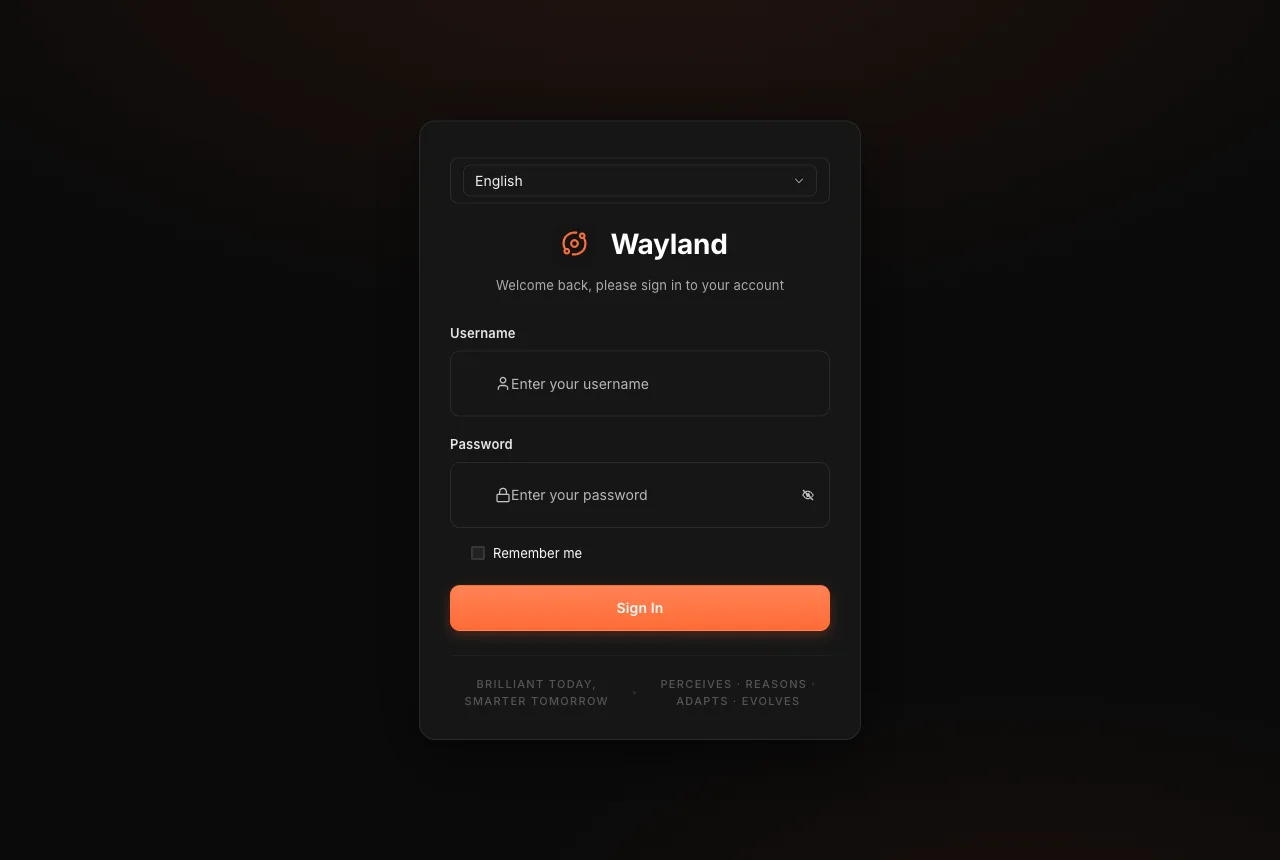
Scan the QR from your phone (the token is good for about 5 minutes), or open http://<your-box-ip>:3000 in any browser and sign in with the printed admin username and password. Change the password after your first login.
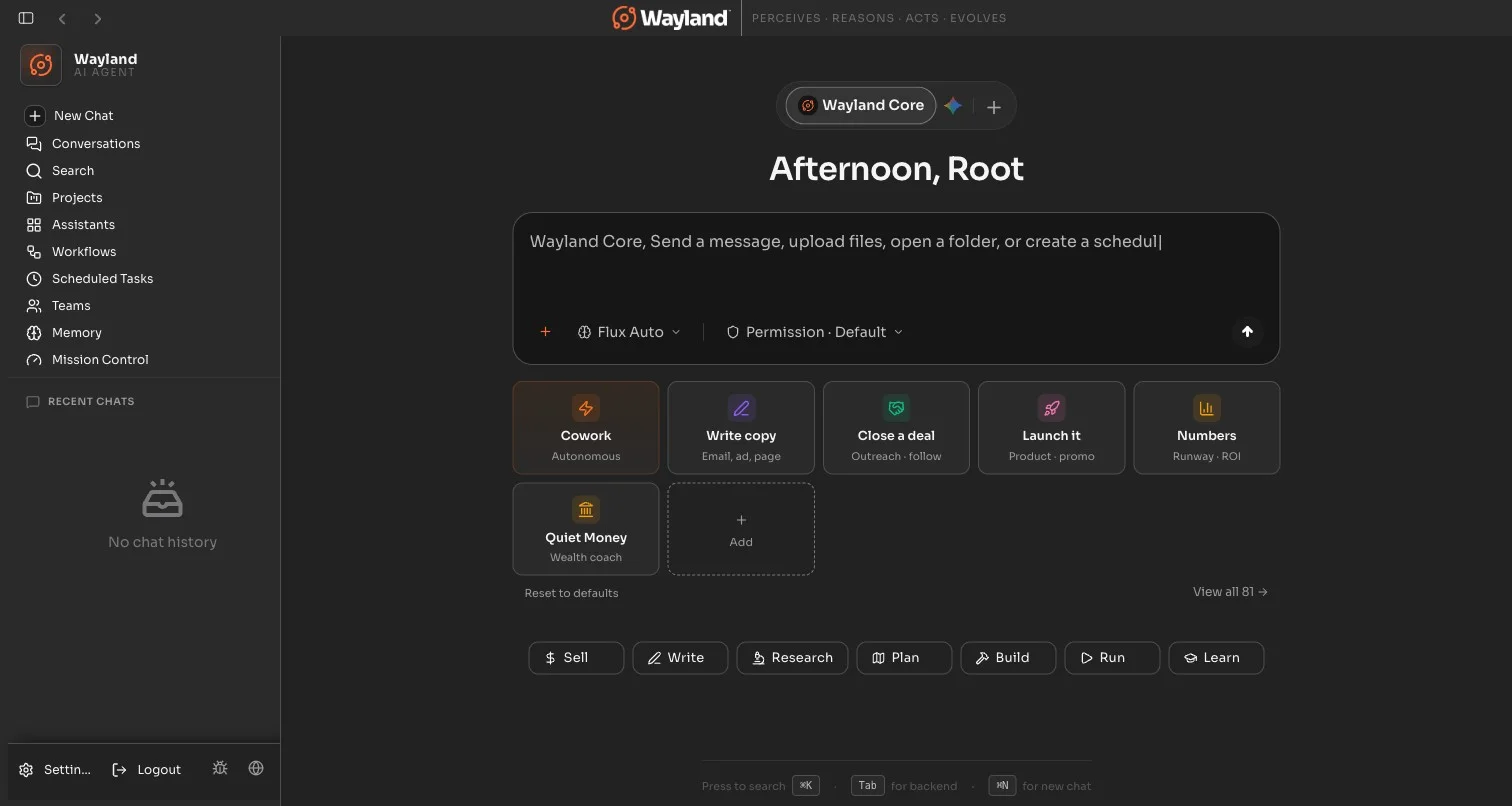
Once you are in, you land on the dashboard with your provider connected and ready. The model picker already shows Flux Auto, your assistants are loaded, and the send box is live.
Send your first message and the agent responds. It runs tools when it needs to, asking your permission first.
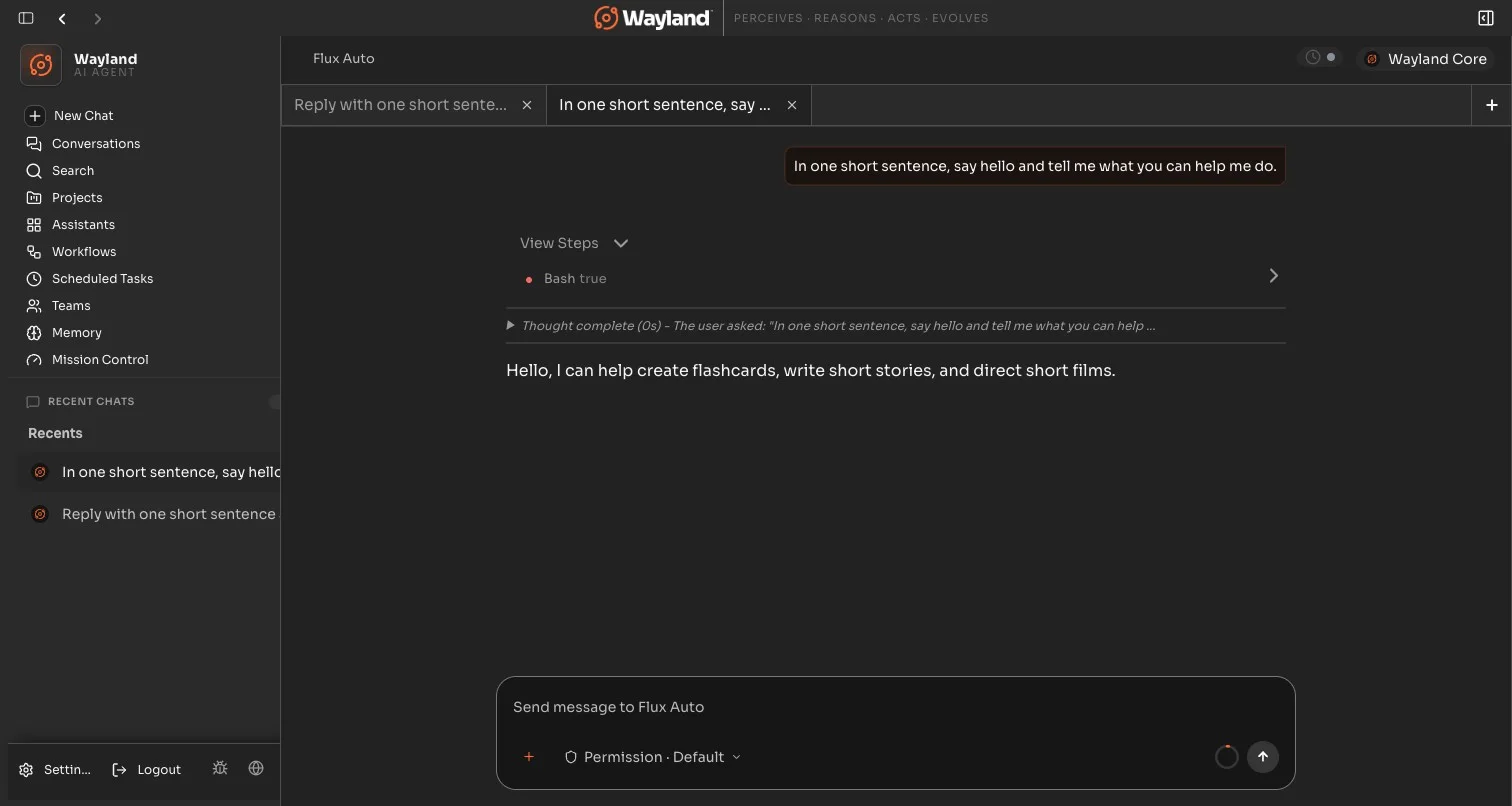
That is the whole flow: install, set up, scan the QR, go.
Keep it private (recommended)
Section titled “Keep it private (recommended)”By default the server binds 0.0.0.0:3000, so it is reachable on your box’s public IP. Lock it down before you leave it running.
The simplest way is Tailscale. It is a manual step, not something setup does for you:
tailscale serve 3000 # reachable only on your tailnet, over HTTPSThat takes the server off the public internet entirely and serves it over HTTPS to your devices. If you do expose it publicly instead, front it with a reverse proxy and TLS, and rely on the built-in login and rate limiting.
Sign in with ChatGPT on a server
Section titled “Sign in with ChatGPT on a server”Pasting a provider key works headless. “Sign in with ChatGPT” (connecting a ChatGPT subscription) is different: it’s a browser sign-in, and a headless box has no browser to open. The sign-in also sends its callback to localhost, which a remote browser can’t reach. So the button on a server would otherwise just hang. Two ways around it:
Forward the sign-in port over SSH. From your own machine, open a tunnel to the server, then do the sign-in in your local browser, and the callback rides back through the tunnel:
ssh -L 1455:localhost:1455 user@your-boxLeave that session open, click Sign in with ChatGPT in the WebUI, and finish in the browser that opens on your machine.
Or reuse a Codex CLI login. On your own machine, run codex login, then copy the resulting ~/.codex/auth.json to the same path under the server user’s home. Wayland reuses that credential automatically, no browser needed. (This is the simplest option if you already use the Codex CLI.)
Commands
Section titled “Commands”| Command | What it does |
|---|---|
wayland setup | Paste a provider key, optionally install a systemd service, and optionally start the server |
wayland start | Run the server (reads the config from setup) |
wayland resetpass | Local break-glass reset of the admin password |
wayland help | Usage |
Override the data directory with DATA_DIR=... and the port with PORT=....
- To add or change a provider key, re-run
wayland setup. - The provider key is stored as an environment variable under the server’s data directory, not in the OS keychain (which is not available on a headless box).
Wayland is open source under AGPL-3.0-or-later. Source lives at FerroxLabs/wayland.